Every pentester and hacker uses tools to make them more efficient at what they do.
That includes when conducting reconnaissance.
So by now you may or may not have heard of a tool called Maltego?
When I first heard about it, I was wondering why it was such a big deal in the IT Security and Pentesting community. If you look at many of the IT Security jobs available online you will eventually come across Maltego as one of those tools companies want you to have experience with.

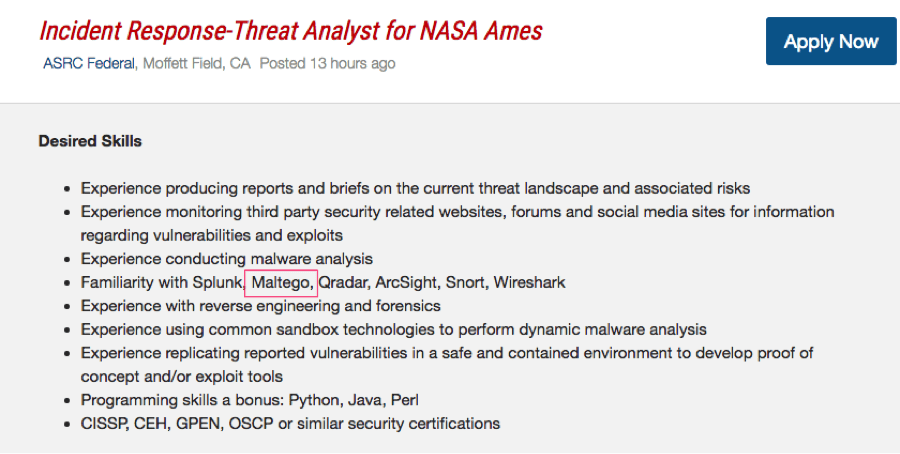
That goes without saying that you are likely to run across it as a test question when taking many of the security certifications out there as well.
I want to show you how you can use this tool to improve your Footprinting technique. As humans we are very visual creatures. For instance seeing a location on a map is much easier to understand than looking at GPS coordinates. This is exactly what I think is the genius of Maltego.
Think of it like this, we are trying to find treasure on a treasure map but we need to start filling in the map and we need to pick a starting location. Basically you start with one piece of information and use that piece to find the next section of the map, and then use that next section to find another and so on.
Do you remember when the huge insurance firm called Anthem was hacked and 80 million social security numbers were exposed?
Maltego was used by the security firm CrowdStrike to do research, create their own treasure map and find servers that were tied to the Chinese hacker group behind that hack.(See http://krebsonsecurity.com/2015/02/anthem-breach-may-have-started-in-april-2014/).
Personally, I already had some experience information gathering/Footprinting and knew that I could do all of my reconnaissance without this tool. When I first opened it up I remember thinking that this seems like a really cumbersome way of trying to perform recon.
We will get into why I eventually came to see how powerful this tool really was but first lets just go over some basics on what it is.
Maltego in the simplest form is an information-gathering tool and a tool that will help you perform reconnaissance on your next target. By target I mean people, infrastructure, networks, servers, IP addresses and the list goes on and on. If there is information to find this tool can help you find it.
Maltego is basically a hub for a bunch of different scripts that help you perform different Footprinting actions called transforms. It then puts all that information together in a nice format that makes it easy for you to consume the information.
Maltego actually comes pre-installed on Kali Linux and if you don’t have it already you can install it rather quickly using a Kali Linux Virtual Box Setup (https://www.hackingloops.com/kali-linux-virtualbox-pentest-lab/).
So, enough talk lets take it for a test drive. To start Maltego in Kali Linux simply type “Maltego”.

You will see something that looks like the following graphic, and if you are booting for the first time it could take a couple of minutes:
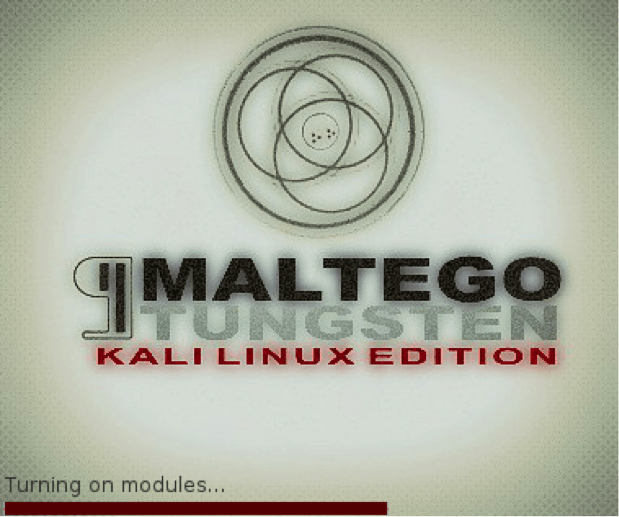
When it finally boots you can see the setup and basic look of Maltego:
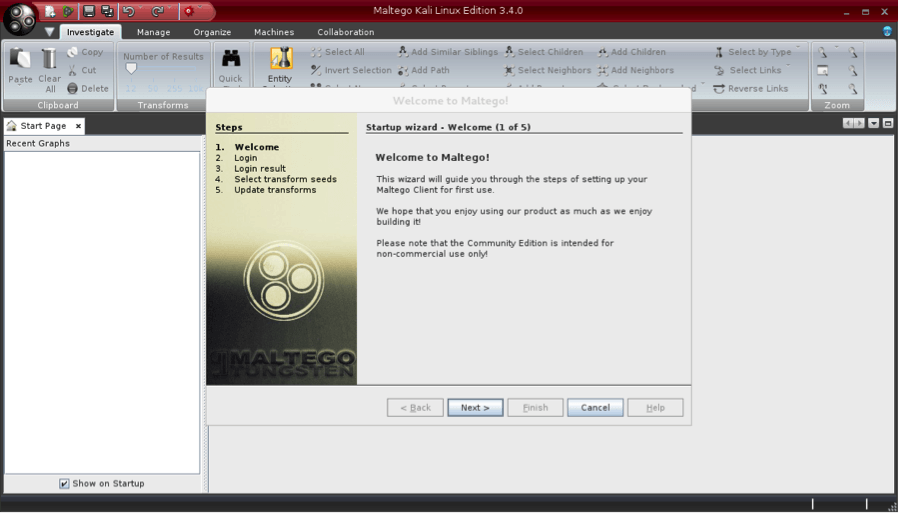
From this setup screen just follow the steps by clicking next, create a login for yourself and then registering. The setup will guide you through all of that rather easily.
Once you’ve logged into the servers using the login you just created, you will see that “Maltego public servers” is checked. Just leave this checked, as these are the servers we want to discover transforms from and click next.
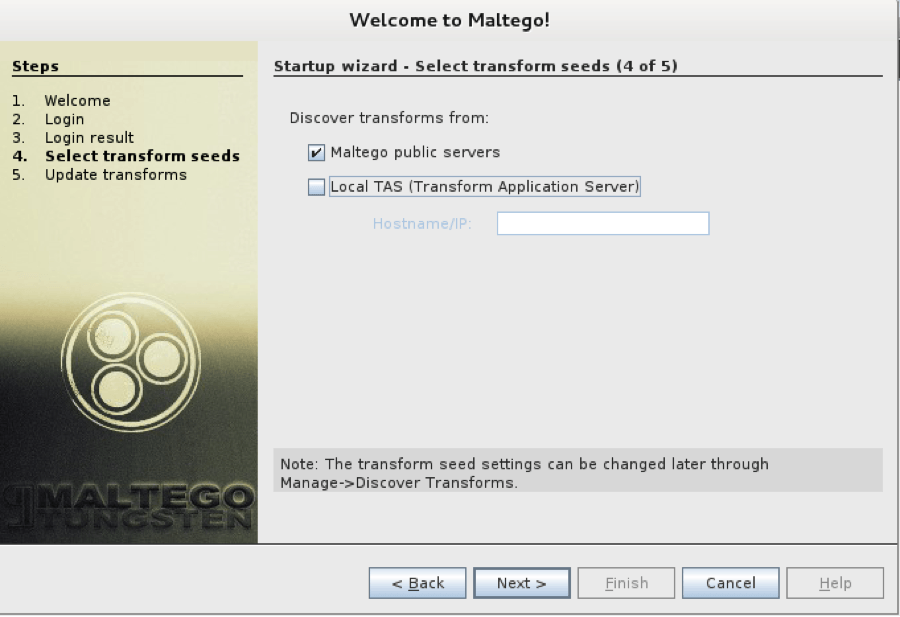
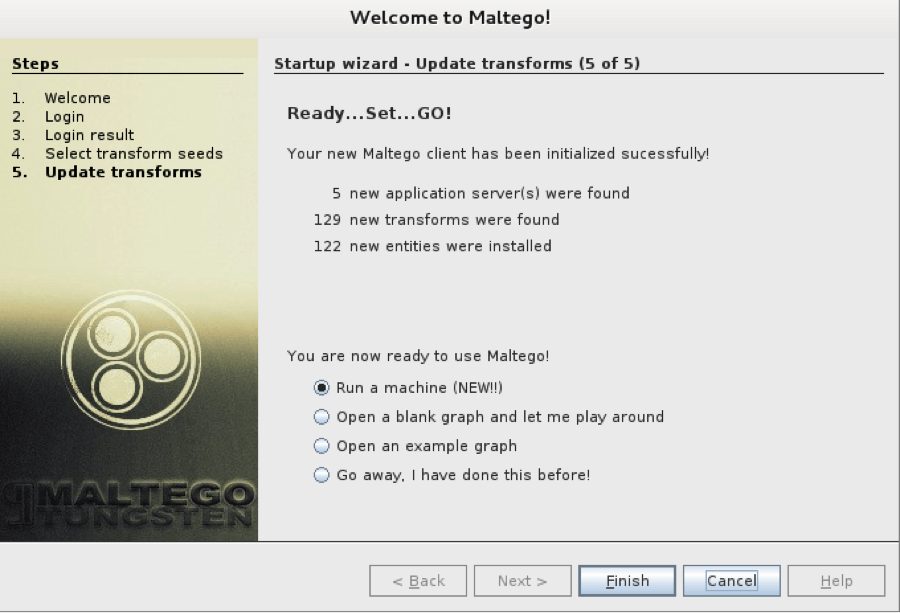
You will then see the following launch page that will finally let us get started. Just leave Run a machine (NEW!!) checked and click finish.
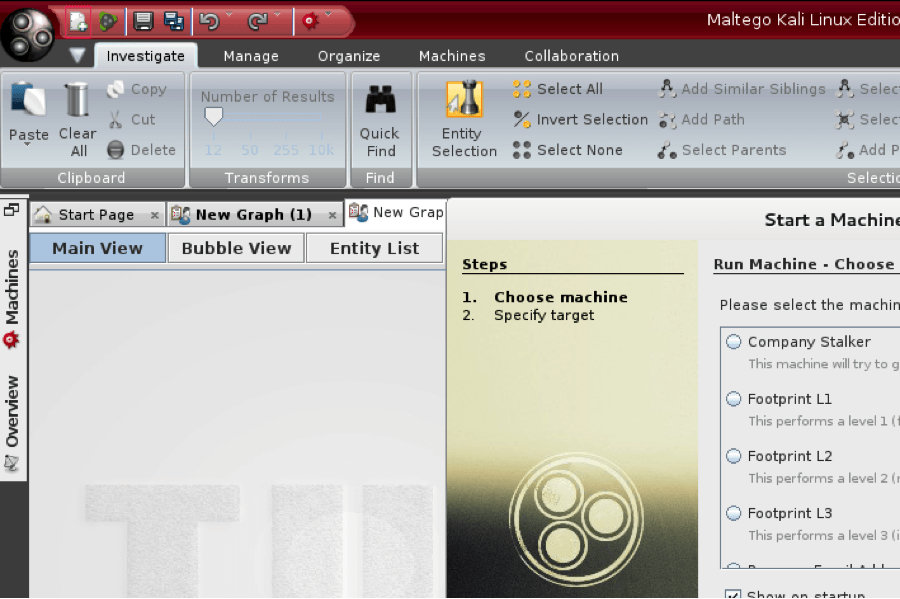
Ok, so now that is done it starts to get really interesting because on the next screen as you can see below, we are actually able to choose the type of reconnaissance we want to do now on our target. We have several options but lets just do a quick overview of some of the more important ones:
Company Stalker
This option basically allows us to select a particular domain, from that it searches for all the email addresses it can find and from there it tries to find all the social media networks it can find.
Footprint L1
- This is a basic footprint of a domain in its simplest form.
Footprint L2
- Same as above just a little more involved and will take a little longer. We might get a bit more data than the most basic Footprint above.
Footprint L3
- Same as the other two above except much more involved. This can take a ton of time to complete but might also net us much more information in the end.
Person – Email Address
- You input an email address and it sees what it can find using that out on the web.
URL To Network And Domain Information
- You input a URL and you get back network information.
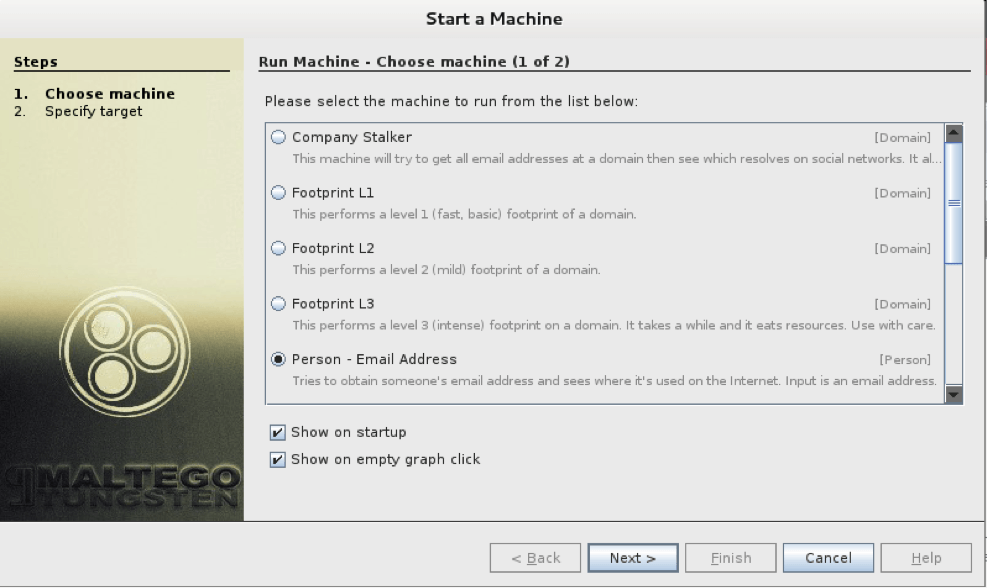
For this next exercise lets just do the basic Footprint of an organization for now. It will be the quickest and let us see how the basic functionality works. Select Footprint L1 and click next.
Lets do a Footprint on the company that created Maltego: www.paterva.com:
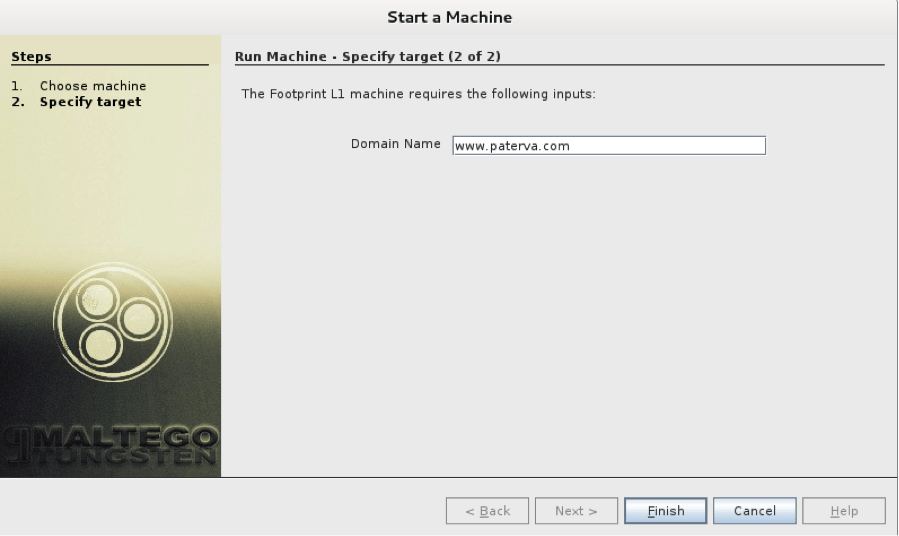
From there you just hit run and Maltego will automatically start Footprinting the domain for you. If you have ever done reconnaissance you know how amazing a tool like this is because it takes time to do the proper research on your target and generally speaking when conducting a pentest, the reconnaissance is the part that takes the longest.
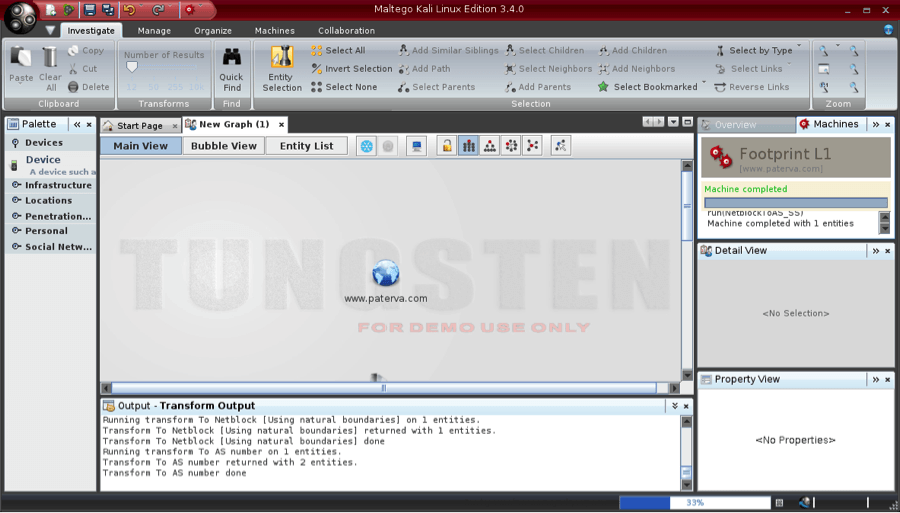
Just below our new graph it created, you might notice the Transform Output. This is output of the actual Footprint transform in action and gives us a look at what it is looking for. You might also notice the domain we typed in laid out in an easy to digest graph format. You also might notice if you zoom out of the graph a bit it will reveal some other entities besides the domain you typed in.
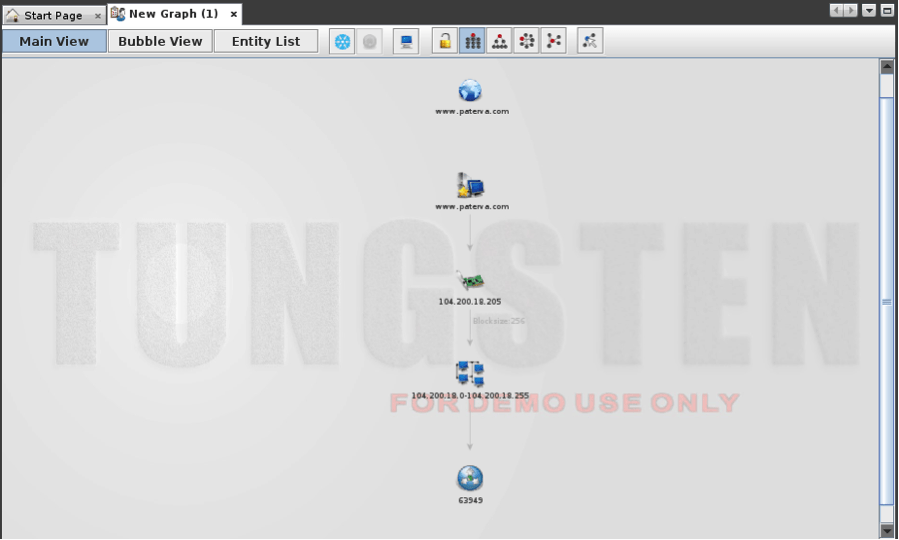
Using the most basic Footprint starting with only the domain we were able to find the website, IP Address, Netblock and AS Number. Not a ton of information but much more than we had before and these pieces will help us find other crucial information on the treasure map that is our target.
So now that we know some basic functionality on how this works, lets try and use that to take our Footprinting further. You might have noticed in the graph that there looks to be several computers in a cluster with an IP Range below it. This is a netblock that the domain belongs to. So if we take a second to think about that, we could reasonably assume that there may be other systems on the same netblock that might be relevant to our initial target.
With that information we could simply right click the netblock and run the transform NetblocktoIPs:

That then gets us what we were looking for and we have found other machines within that netblock that might be relevant:
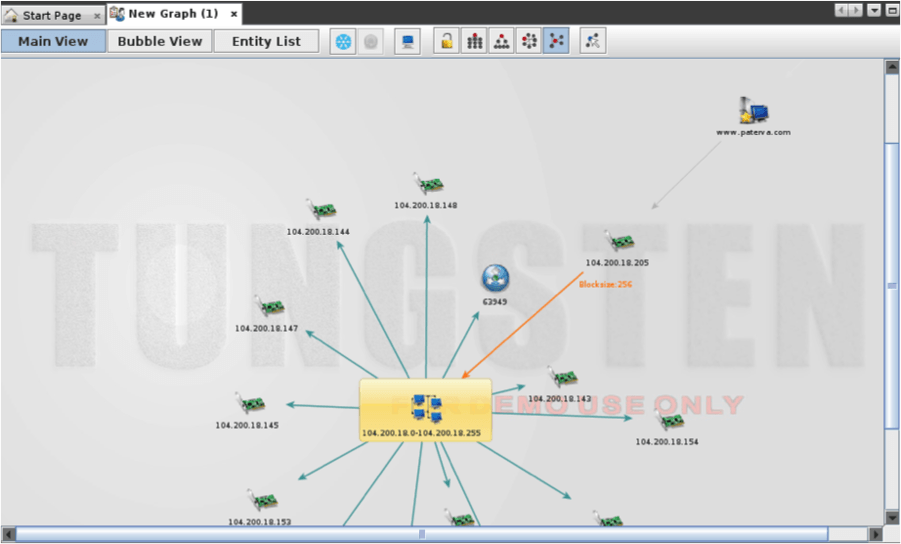
Chances are that some of these machines might belong to www.paterva.com. From there we could then run new transforms on each of these machines to produce an even more detailed map of our target. You can now see how powerful this tool is as you have the ability to keep running these transforms until you find what you need.
To get started from scratch and create a completely new transform you can click the “create a new graph” icon in the top left hand corner. You can then just right click anywhere on the new graph and you will be able to choose a starting point once again:
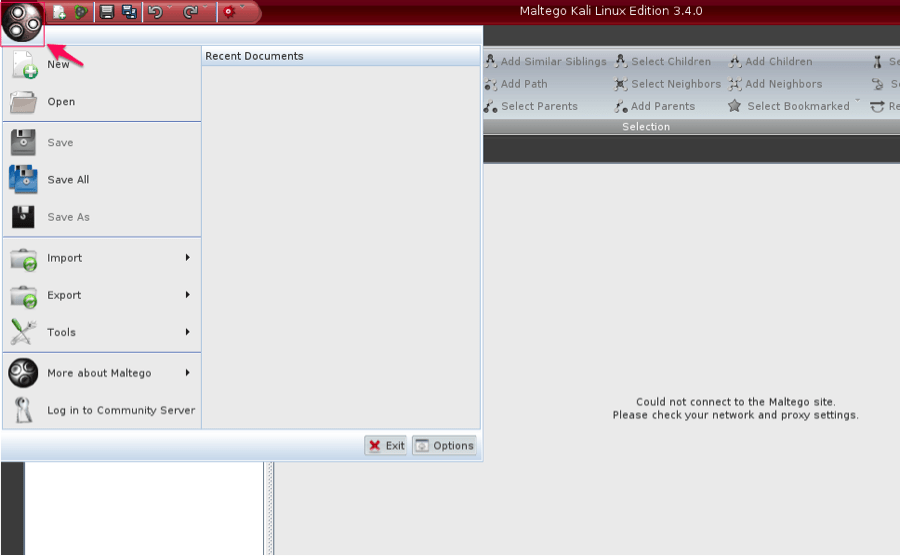
You can also use the main menu option, which is the large circular button (top left) to create a new graph, open an older one or save the current one as well.
In the above tutorials we used default Footprinting transforms at the most basic levels for network intelligence gathering. There will be many other times where we need to be more specific in narrowing our search to one specific device, location or personal piece of information.
Lets say for this example that all we have is a mail server name and we need to use that as the starting point on our map because at this point it is all we have. We first need to find that particular item to place on our map. One way we can do that is by opening up the Palette menu box. You can get there by going to the Manage tab and then find the Palette options in the Windows section.

We then can drag the MX Record item on to our graph. You will notice below that when you drag it over it uses the default MX Record of mail.paterva.com. We can change that though by double left clicking the item name and typing in the MX Record that we want to use.
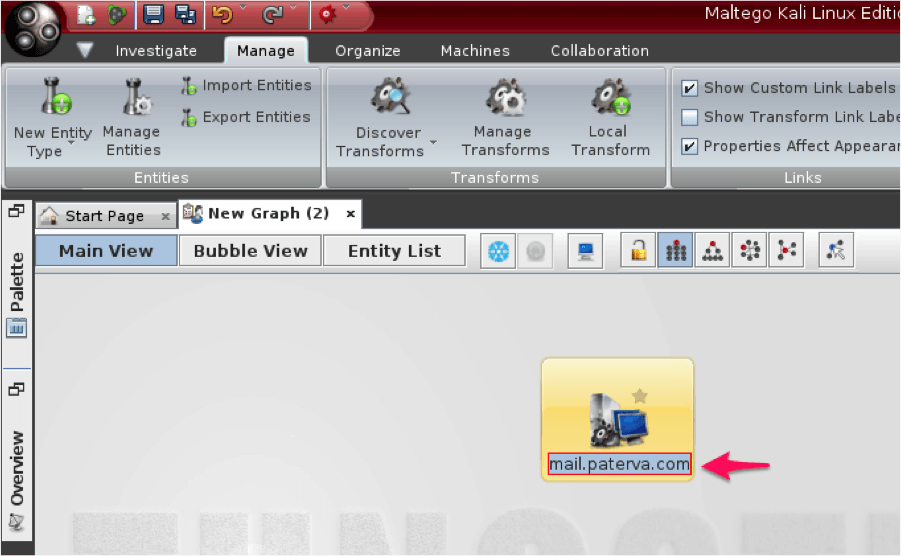
From there as we did above we can use this one item to build out this great visual that paints a picture of our target in a way that is most easy for our brains to understand. We can even drag over more items from our Palette if we already have that information. Some examples are an IP Address, MX Record, Netblock, URL, Website, DNS Name, email address, phone number, document or even a location.
Overall Maltego is an amazing tool for research and there is good reason why security firms look for Pentesters to have experience with it. However, I must caution that you can never rely on one tool to do proper reconnaissance. This tool should be one of the many items in your toolset to help you paint a proper picture of your target. Not to mention tools don’t always get it right so make sure you perform your due diligence when conducting your next pentest.
Please feel free to test these different transforms with emails, other domains and learn. However, never perform any active action against any network except with written consent of the owner.



0 comments:
Post a Comment